Cloud Database Across-Account Migration Guide
ダウンロード
フォーカスモード
フォントサイズ
This document describes how to migrate data between instances across Tencent Cloud accounts using the DTS data migration feature.
Supported Features
The source database is a Tencent Cloud database instance.
Prerequisites
The target database instance has been created.
Note
This operation involves configuring multiple pieces of account information. The main configuration logic is listed below to help users understand and configure correctly.
Data migration direction: source database (database instance of another account) > target database (database instance of this account).
The account that performs the migration task can be the root account or the sub-account of the target database.
Use a root account to perform the migration task. Before the task is performed, you need to request the holder of the source data's root account to grant role authorization (to the root account of the target database), enabling the target database's root account to access the source database.
Use a sub-account to perform the migration task. Before the task is performed, you first need to request the holder of the source data's root account to grant role authorization (to the root account of the target database), enabling the target database's root account to access the source database via the role. Then, request the holder of the target database's root account to grant policy authorization (to the sub-account of the target database), enabling the target database's sub-account to access the source database.
Authorized Accounts
To perform the migration task using a root account, follow steps 1 - 6. To perform the migration task using a sub-account, follow steps 1 - 11.
1. Log in to the CAM console using the Tencent Cloud root account to which the source database belongs. (If a sub-account has permissions related to CAM and roles, you can also log in using a sub-account.)
2. In the left navigation pane, click Role to go to the Role Management page, and then click Create Role.
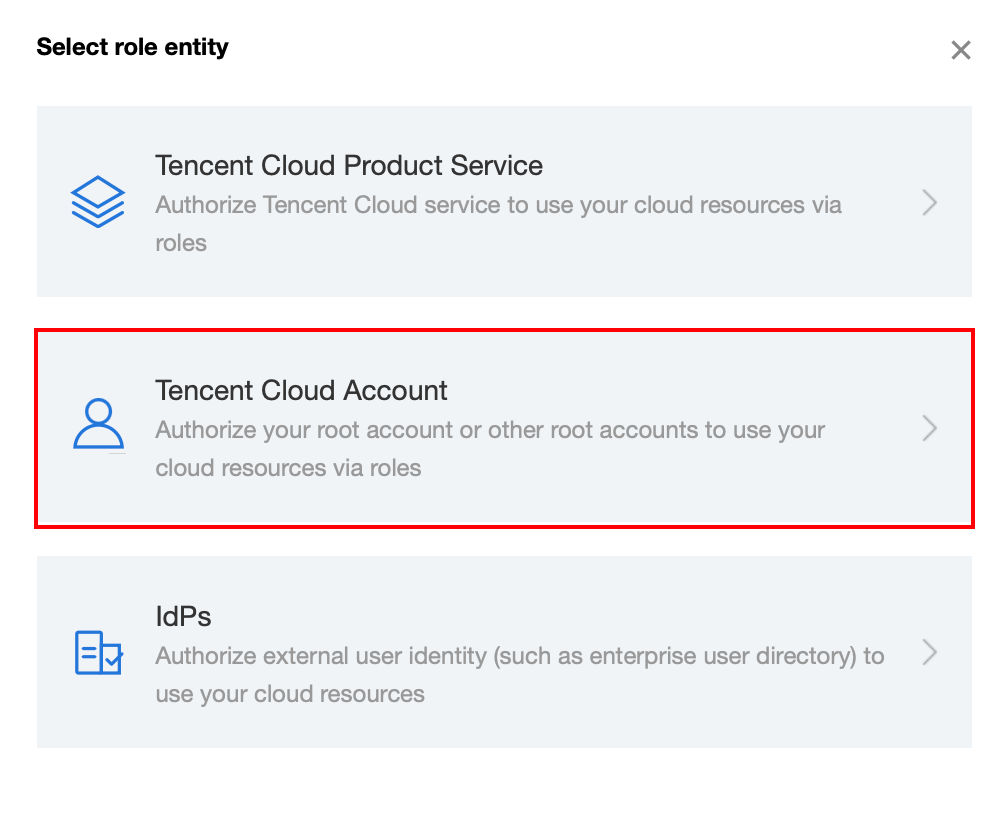
3. On the Select Role Carrier page, select the Tencent Cloud account option.
4. On the Enter Role Entity Info page, configure the relevant information and click Next.
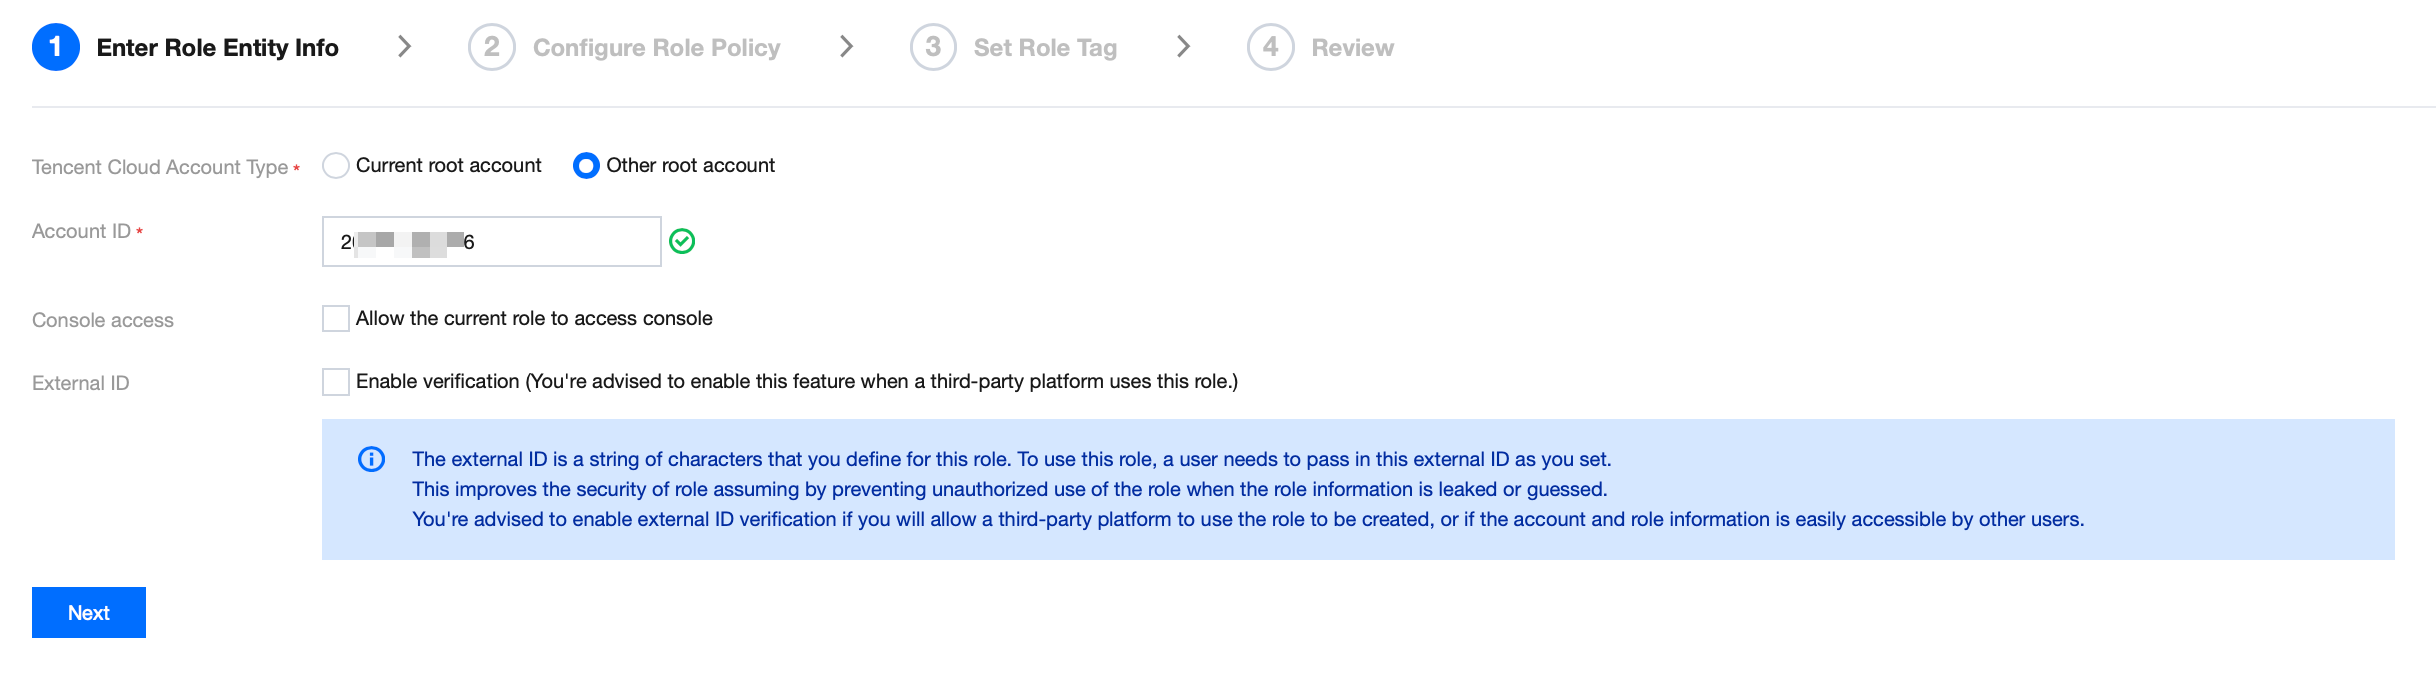
Cloud Account Type: Select Other root account.
Account ID: Enter the Tencent Cloud root account ID to which the target database belongs. You can view the root account ID in Account Information. If the target database instance is under a sub-account, also enter the root account ID here.
External ID: You can optionally enable it based on your needs.
Note:
If you use an external ID, you must record and save it yourself. This ID cannot be queried through the DTS service.
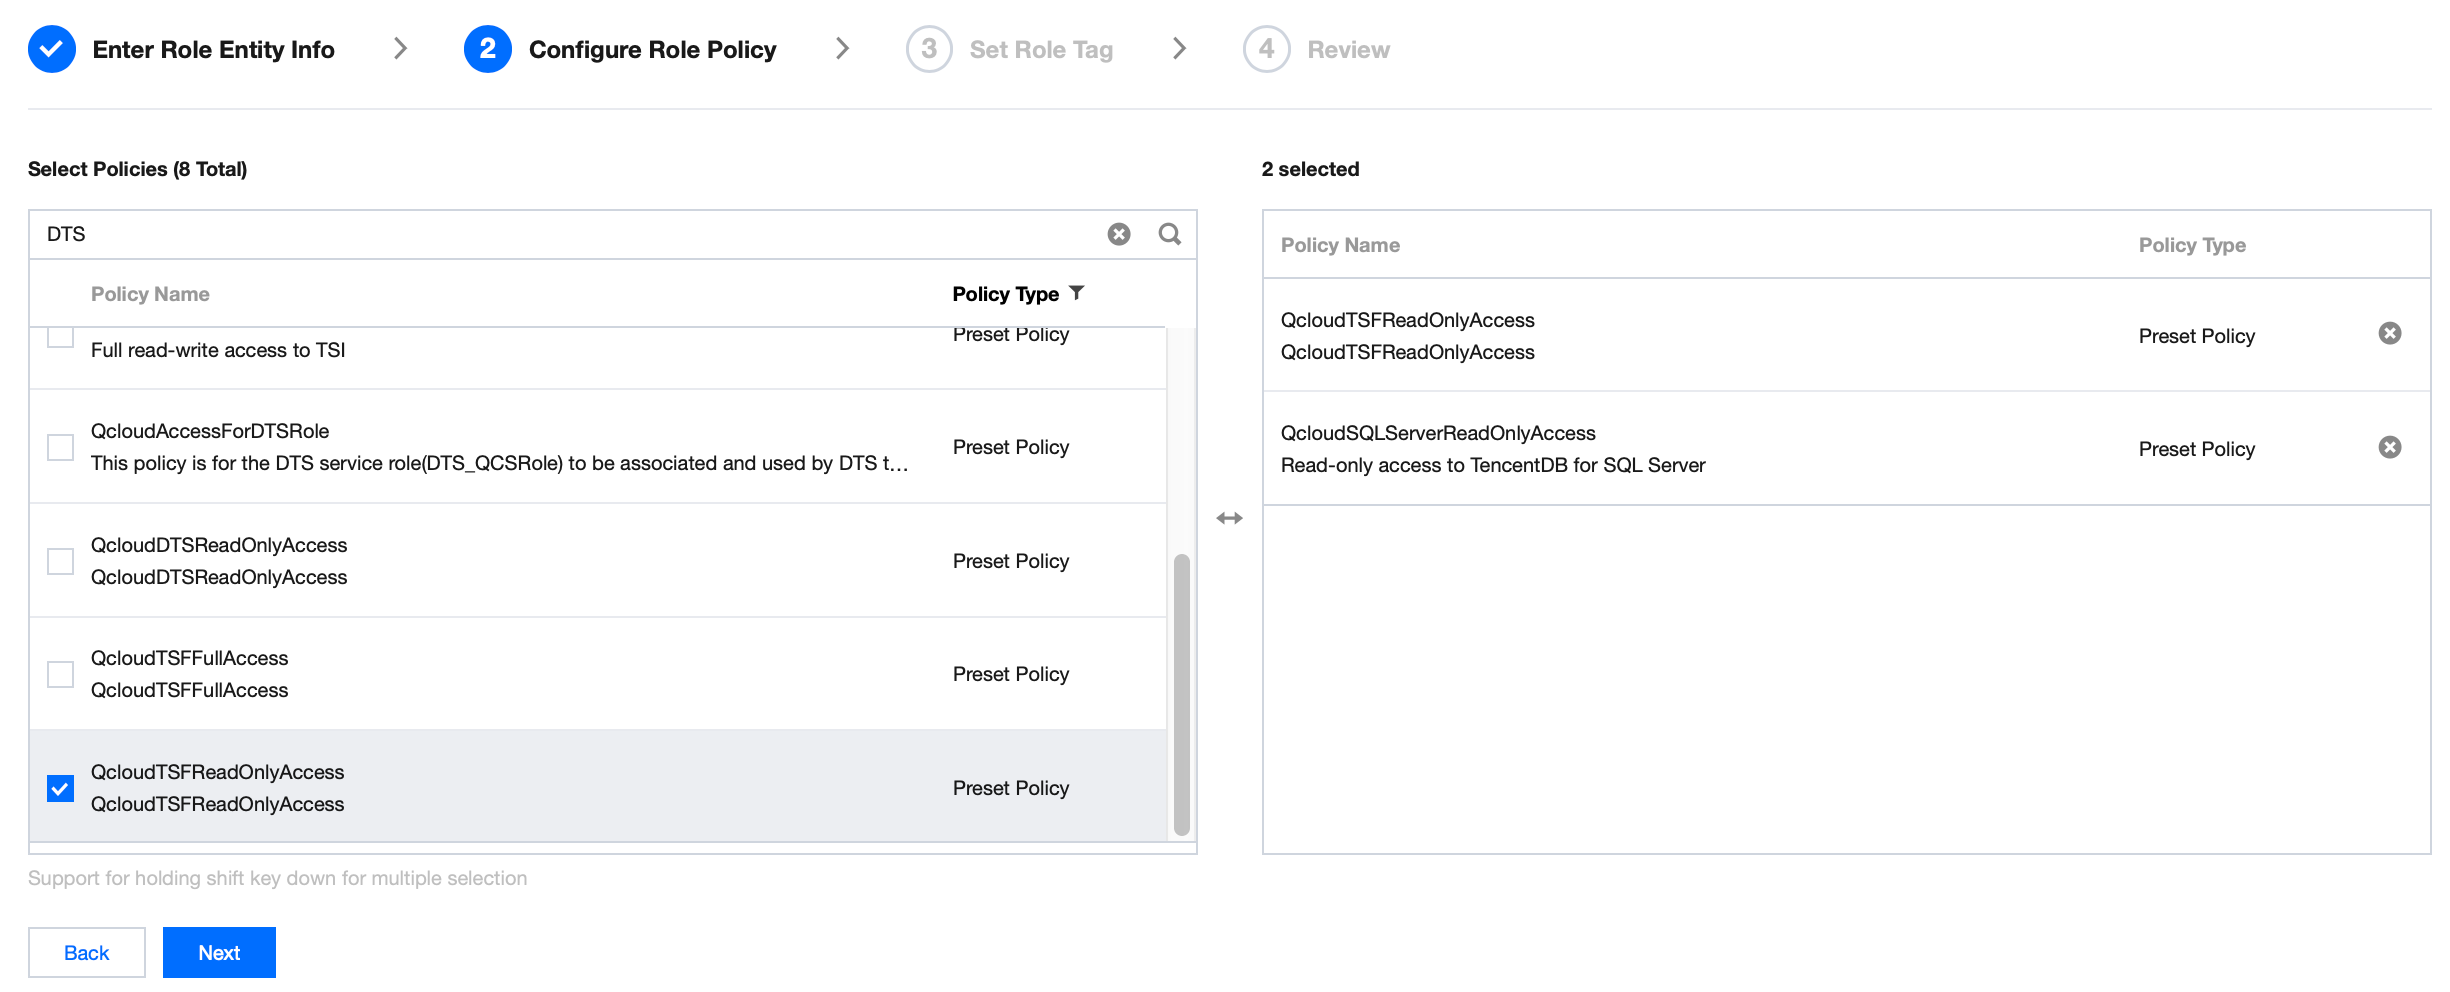
5. On the Configure Role Policy page, select the DTS policy and the corresponding policy for the source database service, and then click Next.
For the DTS service policy, select QcloudDTSReadOnlyAccess.
For the policy corresponding to the source database service, you need to select the read-only service policy and the list-obtaining policy for the source database.
For example, if the source database is TencentDB for SQL Server, add QcloudSQLServerReadOnlyAccess (which grants read-only access to TencentDB for SQL Server related resources).
Note:
You must add QcloudCDBReadOnlyAccess to the source database. Otherwise, you cannot obtain the source database instance list information when a migration task is configured.
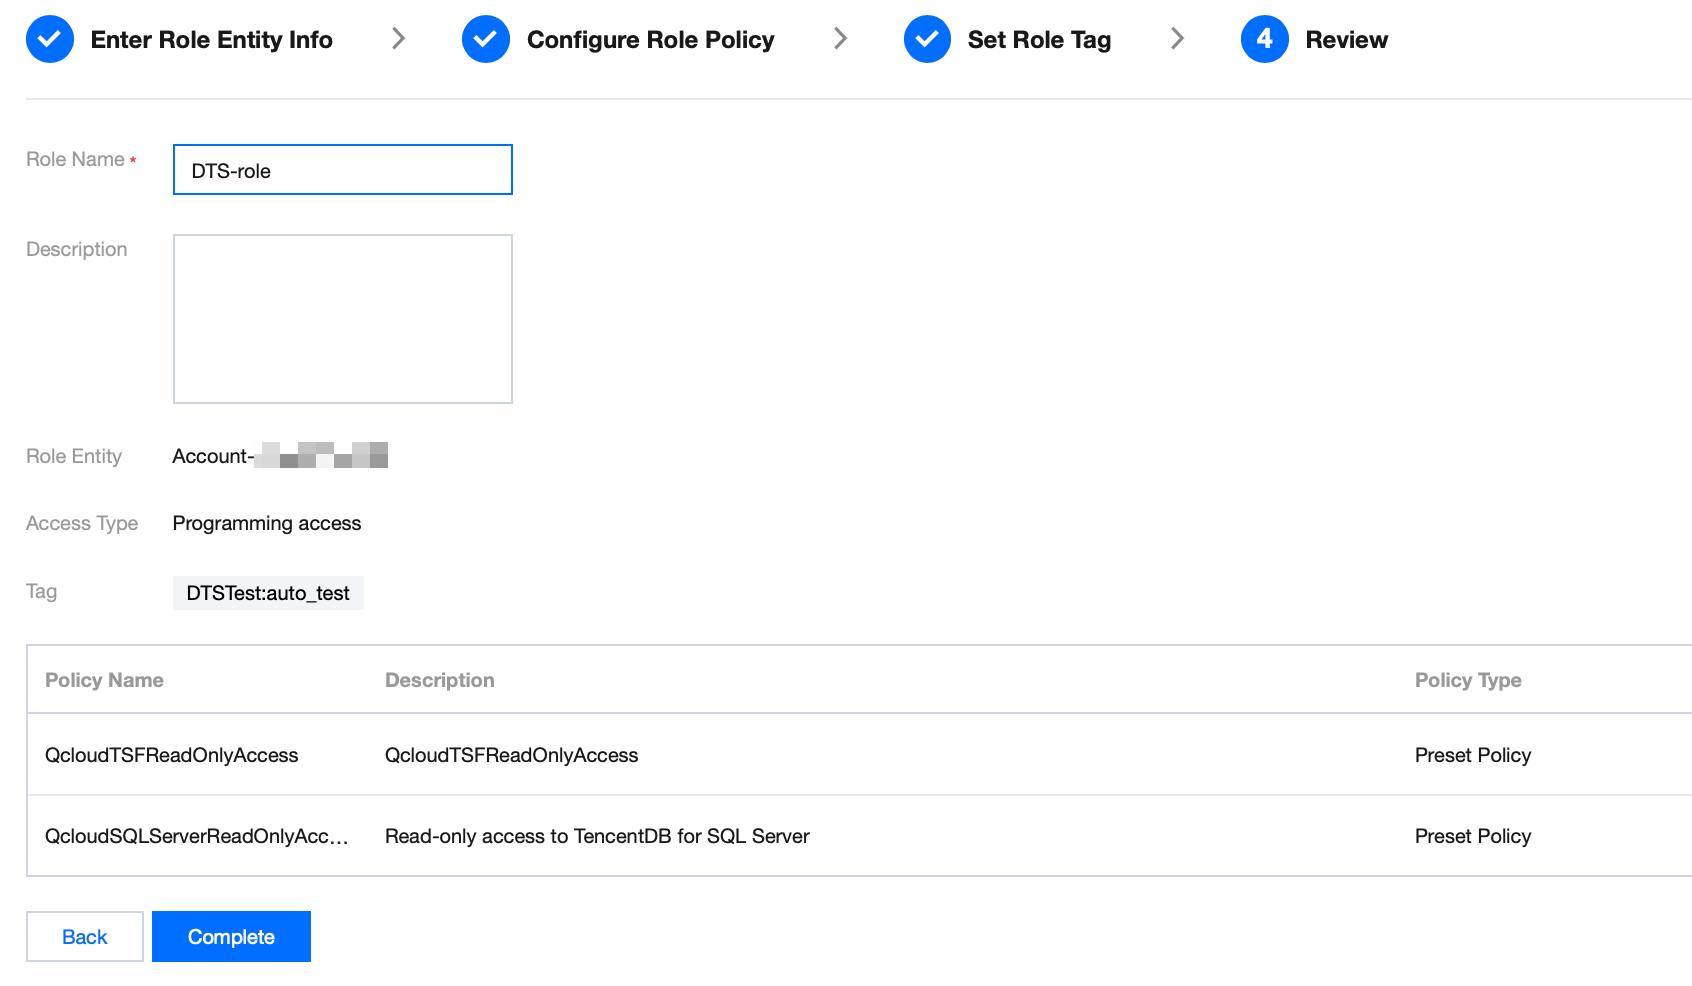
6. Configure the role Tag. Then, on the Review page, set the role name. After you click Complete, the role is created.
Note:
After the role name is configured, record it. You will need to enter it when creating a migration task later.
Note:
If the account performing the migration task is a root account, the authorization process ends here. If it is a sub-account, you need to continue with steps 7-11 below, requesting the current root account holder to grant policy authorization to the sub-account.
7. (Optional) Log in to the CAM console using the Tencent Cloud root account to which the target database belongs. In the left-side navigation, click Policies. Then, on the right side, click Create Custom Policy and select Create by Policy Syntax.
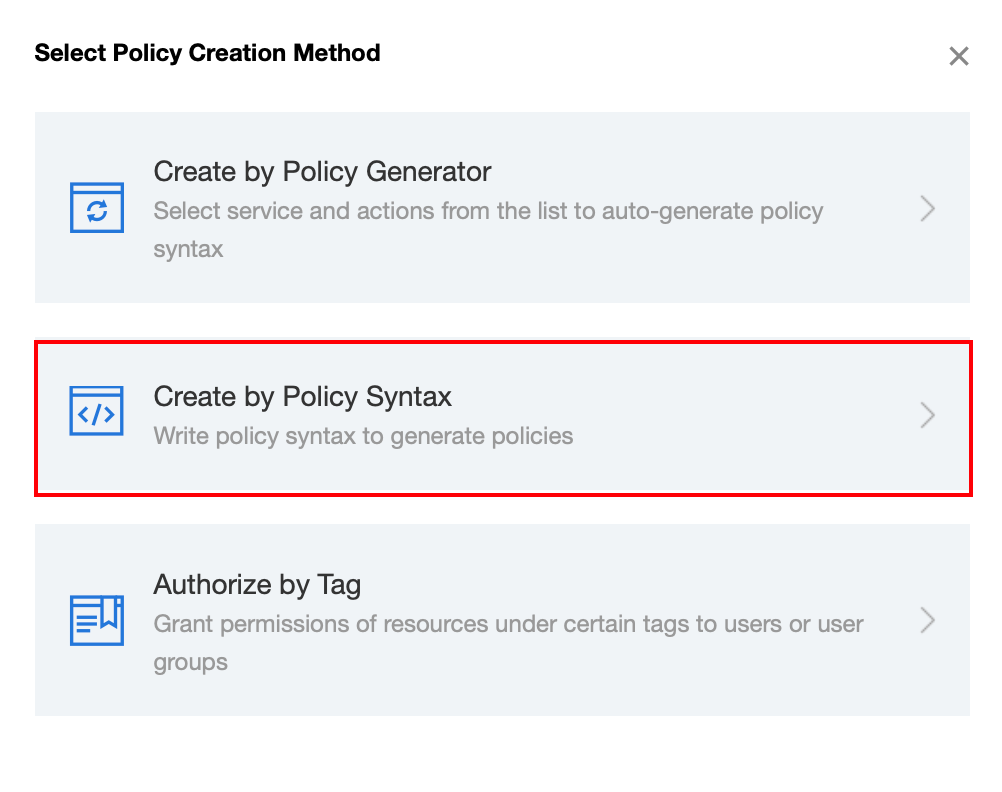
8. (Optional) Select Blank Template, and then click Next.

9. (Optional) Create a policy. You can fill in the policy name and description according to your needs. For the policy content, copy the sample code and then replace the content in the red box with the corresponding information.
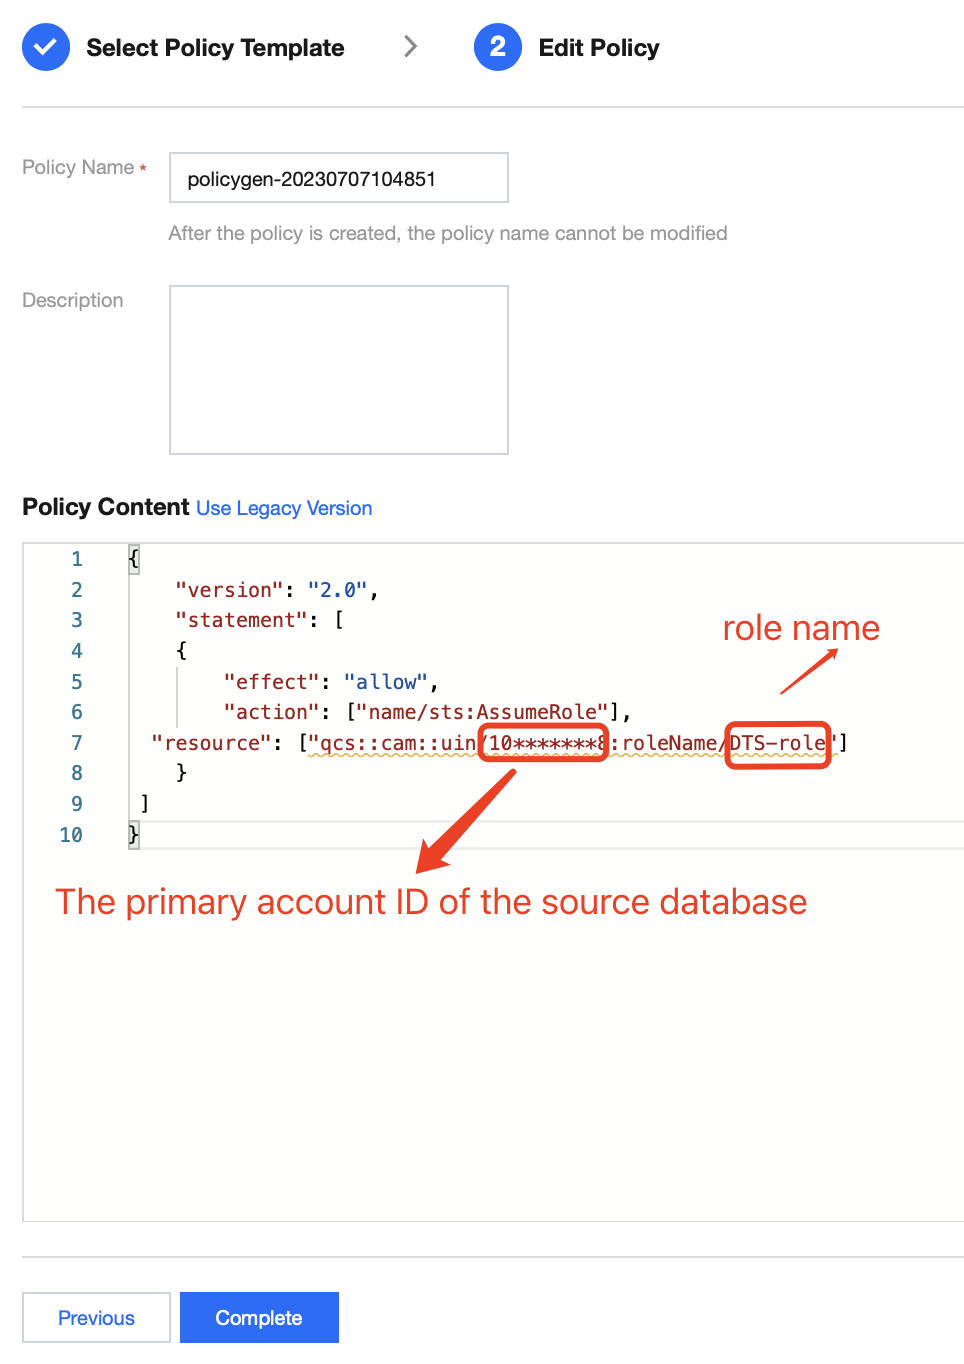
Policy Syntax Example:
{"version": "2.0","statement": [{"effect": "allow","action": ["name/sts:AssumeRole"],"resource": ["qcs::cam::uin/10*******8:roleName/DTS-role"]}]}
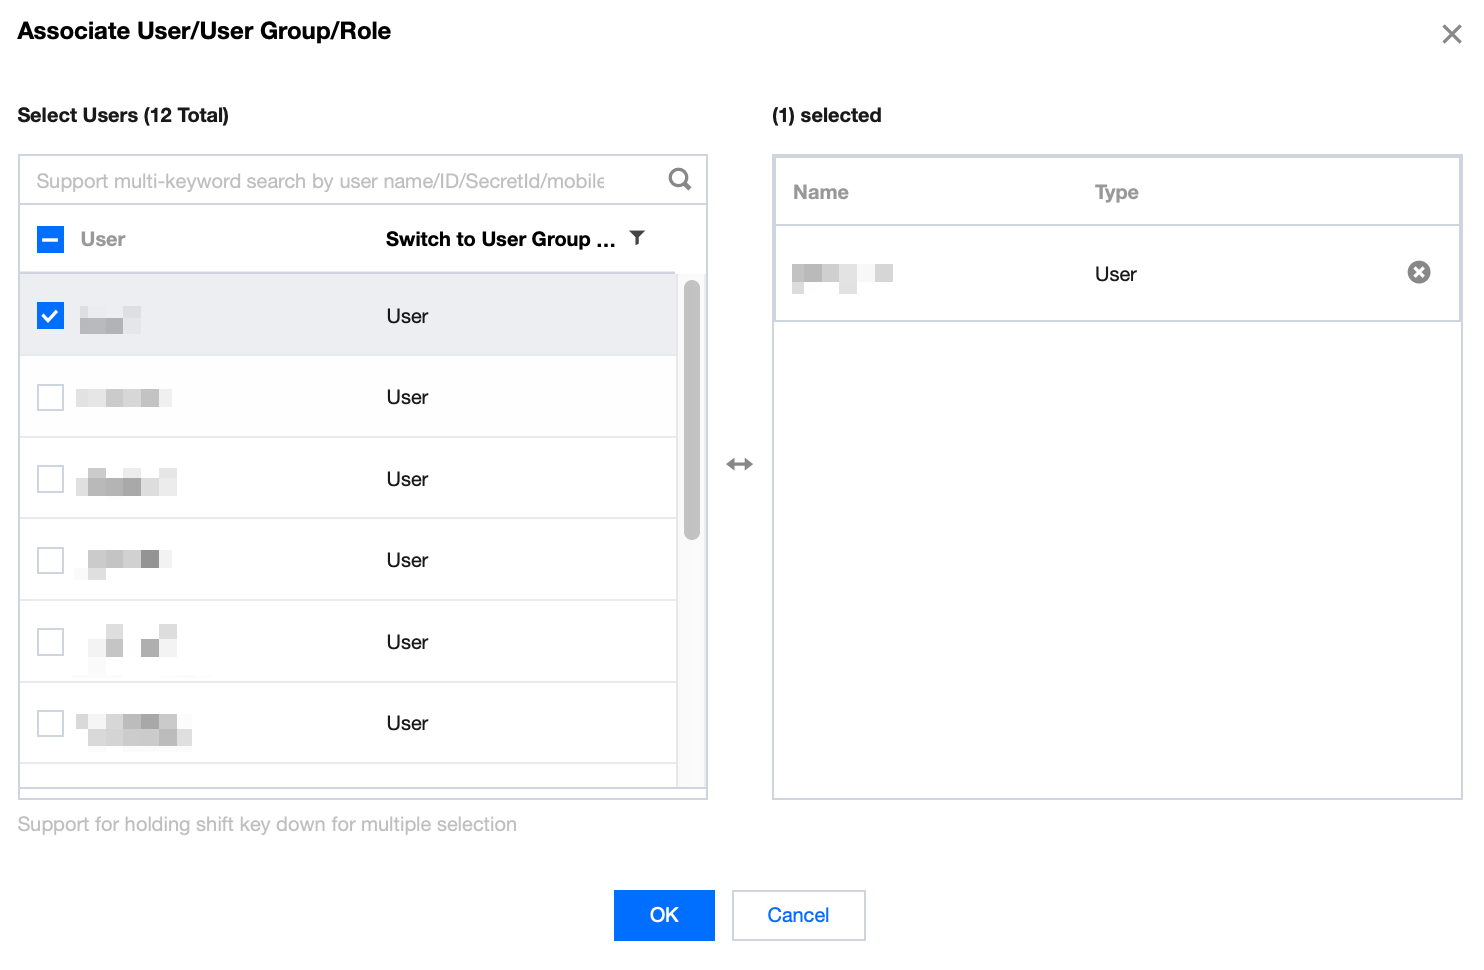
10. (Optional) Click Complete to return to the policy list page. On the list page, click Associate Users/Groups.

11. (Optional) Select the sub-account to which the target database instance belongs (that is, the sub-account that will perform the migration task), and click OK, as shown in the following figure.
Create a migration task
1. Log in to the DTS console using the Tencent Cloud account to which the target database instance belongs.
2. Choose Data Migration > Create Migration Task to purchase a new migration task.
3. After the purchase is completed, you are returned to the data migration list. Click Configure in the Operation column to go to the Configure Migration Task page.
4. On the Set Source and Target Databases page, configure the source and target database information.
The key cross-account parameter configuration is as follows:
Access Type: Select Cloud Database, which indicates that the source database is a TencentDB instance.
Cross-Account: Select Cross-Account.
Cross-Tencent Cloud Account ID: Enter the root account ID to which the source database belongs.
Cross-Account Authorization Role Name. This is the role name created in Step 6 of the preceding Authorize Account section. You can learn more about the concept of roles through Roles and Cross-Account Roles.
External Role ID: This option is optional. This parameter can be obtained from the preceding context. You can learn more about the concept of roles through Roles and Cross-Account Roles.
Note:
After completing the above configuration, select the corresponding region to obtain the cross-account instance list. If an error occurs when the instances are obtained, it may be due to a configuration error or lack of authorization. See FAQs for troubleshooting.
5. On the Set Migration Options and Migration Objects page, configure the data migration options and migration object options. After the configuration is complete, click Save and Go Next.
6. On the Check Task page, click Start Task after the check is completed and all check items pass.
7. If the check task fails, you can see Troubleshooting Approach to fix the issue and reinitiate a check task.
8. Return to the data migration task list. The task begins to enter the Running status.
FAQs
1. Error when the cross-account instance list is pulled: role not exist[InternalError.GetRoleError]
Confirm that the Cross-Tencent Cloud Account ID (which should be the root account ID of the source database) and the Cross-Account Authorization Role Name (which should be the role name created in Step 6 of Authorize Account) are configured correctly.
2. Failed to obtain the cloud database instance list: InternalError:InternalInnerCommonError.
The Tencent Cloud service policy for the source database is not authorized to the role. See Step 5 in Authorize Account to grant the authorization.
3. Error when you pull the cross-account instance list: you are not authorized to perform operation (sts:AssumeRole), resource (qcs::cam::uin/1xx5:roleName/xxxx) has no permissionCause: The account you are currently using to create the migration task is a sub-account, and this sub-account does not have the sts:AssumeRole permission.
Solution:
Use a root account to create the migration task.
Request the holder of the target database's root account to authorize the sub-account by referring to Authorize Account. For the resource in the policy syntax, fill in the blue field part in the error box.
フィードバック